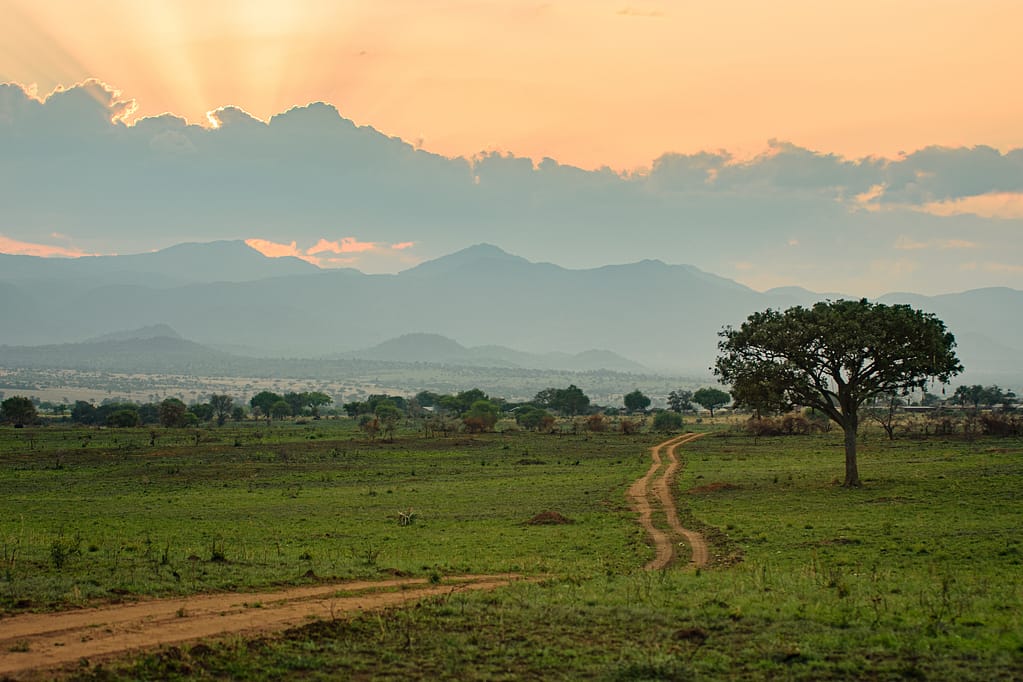
Landscape photography is an art that extends beyond the camera lens. The magic often happens during the editing, where you can transform your raw images into stunning landscapes. In this comprehensive guide, we’ll explore essential landscape photo editing tips that apply to both phone and camera photographers, helping you enhance your outdoor vistas to perfection.
Tip 1: Shoot in RAW (If Possible) Whether you’re using a dedicated camera or a phone with RAW capabilities, capturing images in RAW format provides greater flexibility during post-processing. RAW files contain more image data, allowing you to make extensive edits without compromising image quality.
Tip 2: Crop and Straighten One of the first steps in landscape editing is cropping and straightening your composition. Use the rule of thirds to guide your crop, and ensure the horizon is level. Many editing apps offer grid overlays to help with alignment.
 Tip 3: White Balance Adjustment Correcting white balance is essential, especially when shooting under different lighting conditions. Adjust the temperature and tint to achieve the desired color balance in your landscape photos.
 Tip 4: Enhance Details with Sharpening Sharpening is crucial for landscape photos. Apply sharpening sparingly to bring out details in the scene. Most editing tools offer both global and selective sharpening options to fine-tune your image.

Tip 5: Optimize Exposure and Contrast Balance exposure and contrast to ensure that both highlights and shadows are well-defined. Adjust exposure to recover blown-out highlights and lift shadows to reveal hidden details.
 Tip 6: Vibrance and Saturation Enhance the colors in your landscape photos by adjusting vibrance and saturation. Be cautious not to oversaturate; aim for natural, vivid colors that reflect the scene accurately.

Tip 7: Graduated Filters and Dodge/Burn Graduated filters help balance exposure within a landscape. Use these filters to darken overexposed skies or brighten underexposed foregrounds. Additionally, apply dodge and burn techniques selectively to emphasize or de-emphasize specific areas.
 Tip 8: Clarity and Dehaze Clarity adds mid-tone contrast to your photos, making details pop. Dehaze can be a lifesaver for hazy landscapes. Use these tools to create a clearer and more detailed image.

Tip 9: Noise Reduction Noise can be a challenge, especially in low-light conditions. Use noise reduction tools to smooth out graininess in your photos while preserving important details.
 Tip 10: Local Adjustments For precise control, utilize local adjustments like brushes, gradients, and radial filters. These tools allow you to enhance specific areas of your landscape, such as emphasizing a glowing sunset or darkening a distracting element.
Tip 11: Use Filters (Digital or Physical) Consider using digital filters or actual physical filters while shooting. Graduated neutral density (ND) filters, polarizers, and UV filters can significantly improve your landscape shots, reducing the need for extensive editing.
Tip 12: Preserve Realism While landscape editing allows for creative enhancements, it’s essential to maintain the realism of the scene. Strive for a balance between artistic interpretation and the genuine beauty of the landscape.

Tip 13: Learn from the Pros Study the work of professional landscape photographers and their editing techniques. Many offer tutorials or presets that can help you achieve their signature styles. University of YouTube is your friend
Conclusion: Landscape photo editing is a creative process that elevates your outdoor captures to new heights. Whether you’re using a camera or a phone, these tips provide a foundation for enhancing your landscapes. Remember that post-processing should complement your photographic vision and help you share the breathtaking beauty of the natural world with others.

